Configure NGINX reverse proxy for Nomad's web UI
NGINX can be used to reverse proxy web services and balance load across multiple instances of the same service. A reverse proxy has the added benefits of enabling multiple web services to share a single, memorable domain and authentication to view internal systems.
To ensure every feature in the Nomad UI remains fully functional, you must properly configure your reverse proxy to meet Nomad's specific networking requirements.
This tutorial will explore common configuration changes necessary when reverse proxying Nomad's Web UI. Issues common to default proxy configurations will be discussed and demonstrated. As you learn about each issue, you will deploy NGINX configuration changes that will address it.
Prerequisites
This tutorial assumes basic familiarity with Nomad and NGINX.
Here is what you will need for this guide:
- Nomad 0.11.0 installed locally
- Docker
Start Nomad
Because of best practices around least access to nodes, it is typical for Nomad
UI users to not have direct access to the Nomad client nodes. You can simulate
that for the purposes of this tutorial by advertising an incorrect http address.
Create a file named nomad.hcl with the following configuration snippet.
# Advertise a bogus HTTP address to force the UI# to fallback to streaming logs through the proxy.advertise { http = "internal-ip:4646"}Start Nomad as a dev agent with this custom configuration file.
$ sudo nomad agent -dev -config=nomad.hclNext, create a service job file that will frequently write logs to stdout. This sample job file below can be used if you don't have your own.
# fs-example.nomad.hcl job "fs-example" { datacenters = ["dc1"] task "fs-example" { driver = "docker" config { image = "dingoeatingfuzz/fs-example:0.3.0" } resources { cpu = 500 memory = 512 } }}Run this service job using the Nomad CLI or UI.
$ nomad run fs-example.nomad.hclAt this point, you have a Nomad cluster running locally with one job in it. You can visit the Web UI at http://localhost:4646.
Configure NGINX to reverse proxy the web UI
As mentioned earlier, the overarching goal is to configure a proxy from Nomad UI users to the Nomad UI running on the Nomad cluster. To do that, you will configure a NGINX instance as your reverse proxy.
Create a basic NGINX configuration file to reverse proxy the Web UI. It is important to name the NGINX configuration file nginx.conf otherwise the file will not bind correctly.
# nginx.confevents {} http { server { location / { proxy_pass http://host.docker.internal:4646; proxy_set_header X-Forwarded-For $proxy_add_x_forwarded_for; } }}Note
If you are not using Docker for Mac or Docker for Windows, the host.docker.internal DNS record may not be available.
This basic NGINX configuration does two things. The first is forward all traffic into NGINX to the proxy address at http://host.docker.internal:4646. Since NGINX will be running in Docker and Nomad is running locally, this address is equivalent to http://localhost:4646 which is where the Nomad API and Web UI are served. The second thing this configuration does is attach the X-Forwarded-For header which allows HTTP requests to be traced back to their origin.
Next in a new terminal session, start NGINX in Docker using this configuration file.
$ docker run --publish=8080:80 \ --mount type=bind,source=$PWD/nginx.conf,target=/etc/nginx/nginx.conf \ nginx:latestNGINX will be started as soon as Docker has finished pulling layers. At that point you can visit http://localhost:8080 to visit the Nomad Web UI through the NGINX reverse proxy.
Extend connection timeout
The Nomad Web UI uses long-lived connections for its live-update feature. If the proxy closes the connection early because of a connection timeout, it could prevent the Web UI from continuing to live-reload data.
The Nomad Web UI will live-reload all data to make sure views are always fresh as Nomad's server state changes. This is achieved using the blocking queries to the Nomad API. Blocking queries are an implementation of long-polling which works by keeping HTTP connections open until server-side state has changed. This is advantageous over traditional polling which results in more requests that often return no new information. It is also faster since a connection will close as soon as new information is available rather than having to wait for the next iteration of a polling loop. A consequence of this design is that HTTP requests aren't always expected to be short-lived. NGINX has a default proxy timeout of 60 seconds while Nomad's blocking query system will leave connections open for five minutes by default.
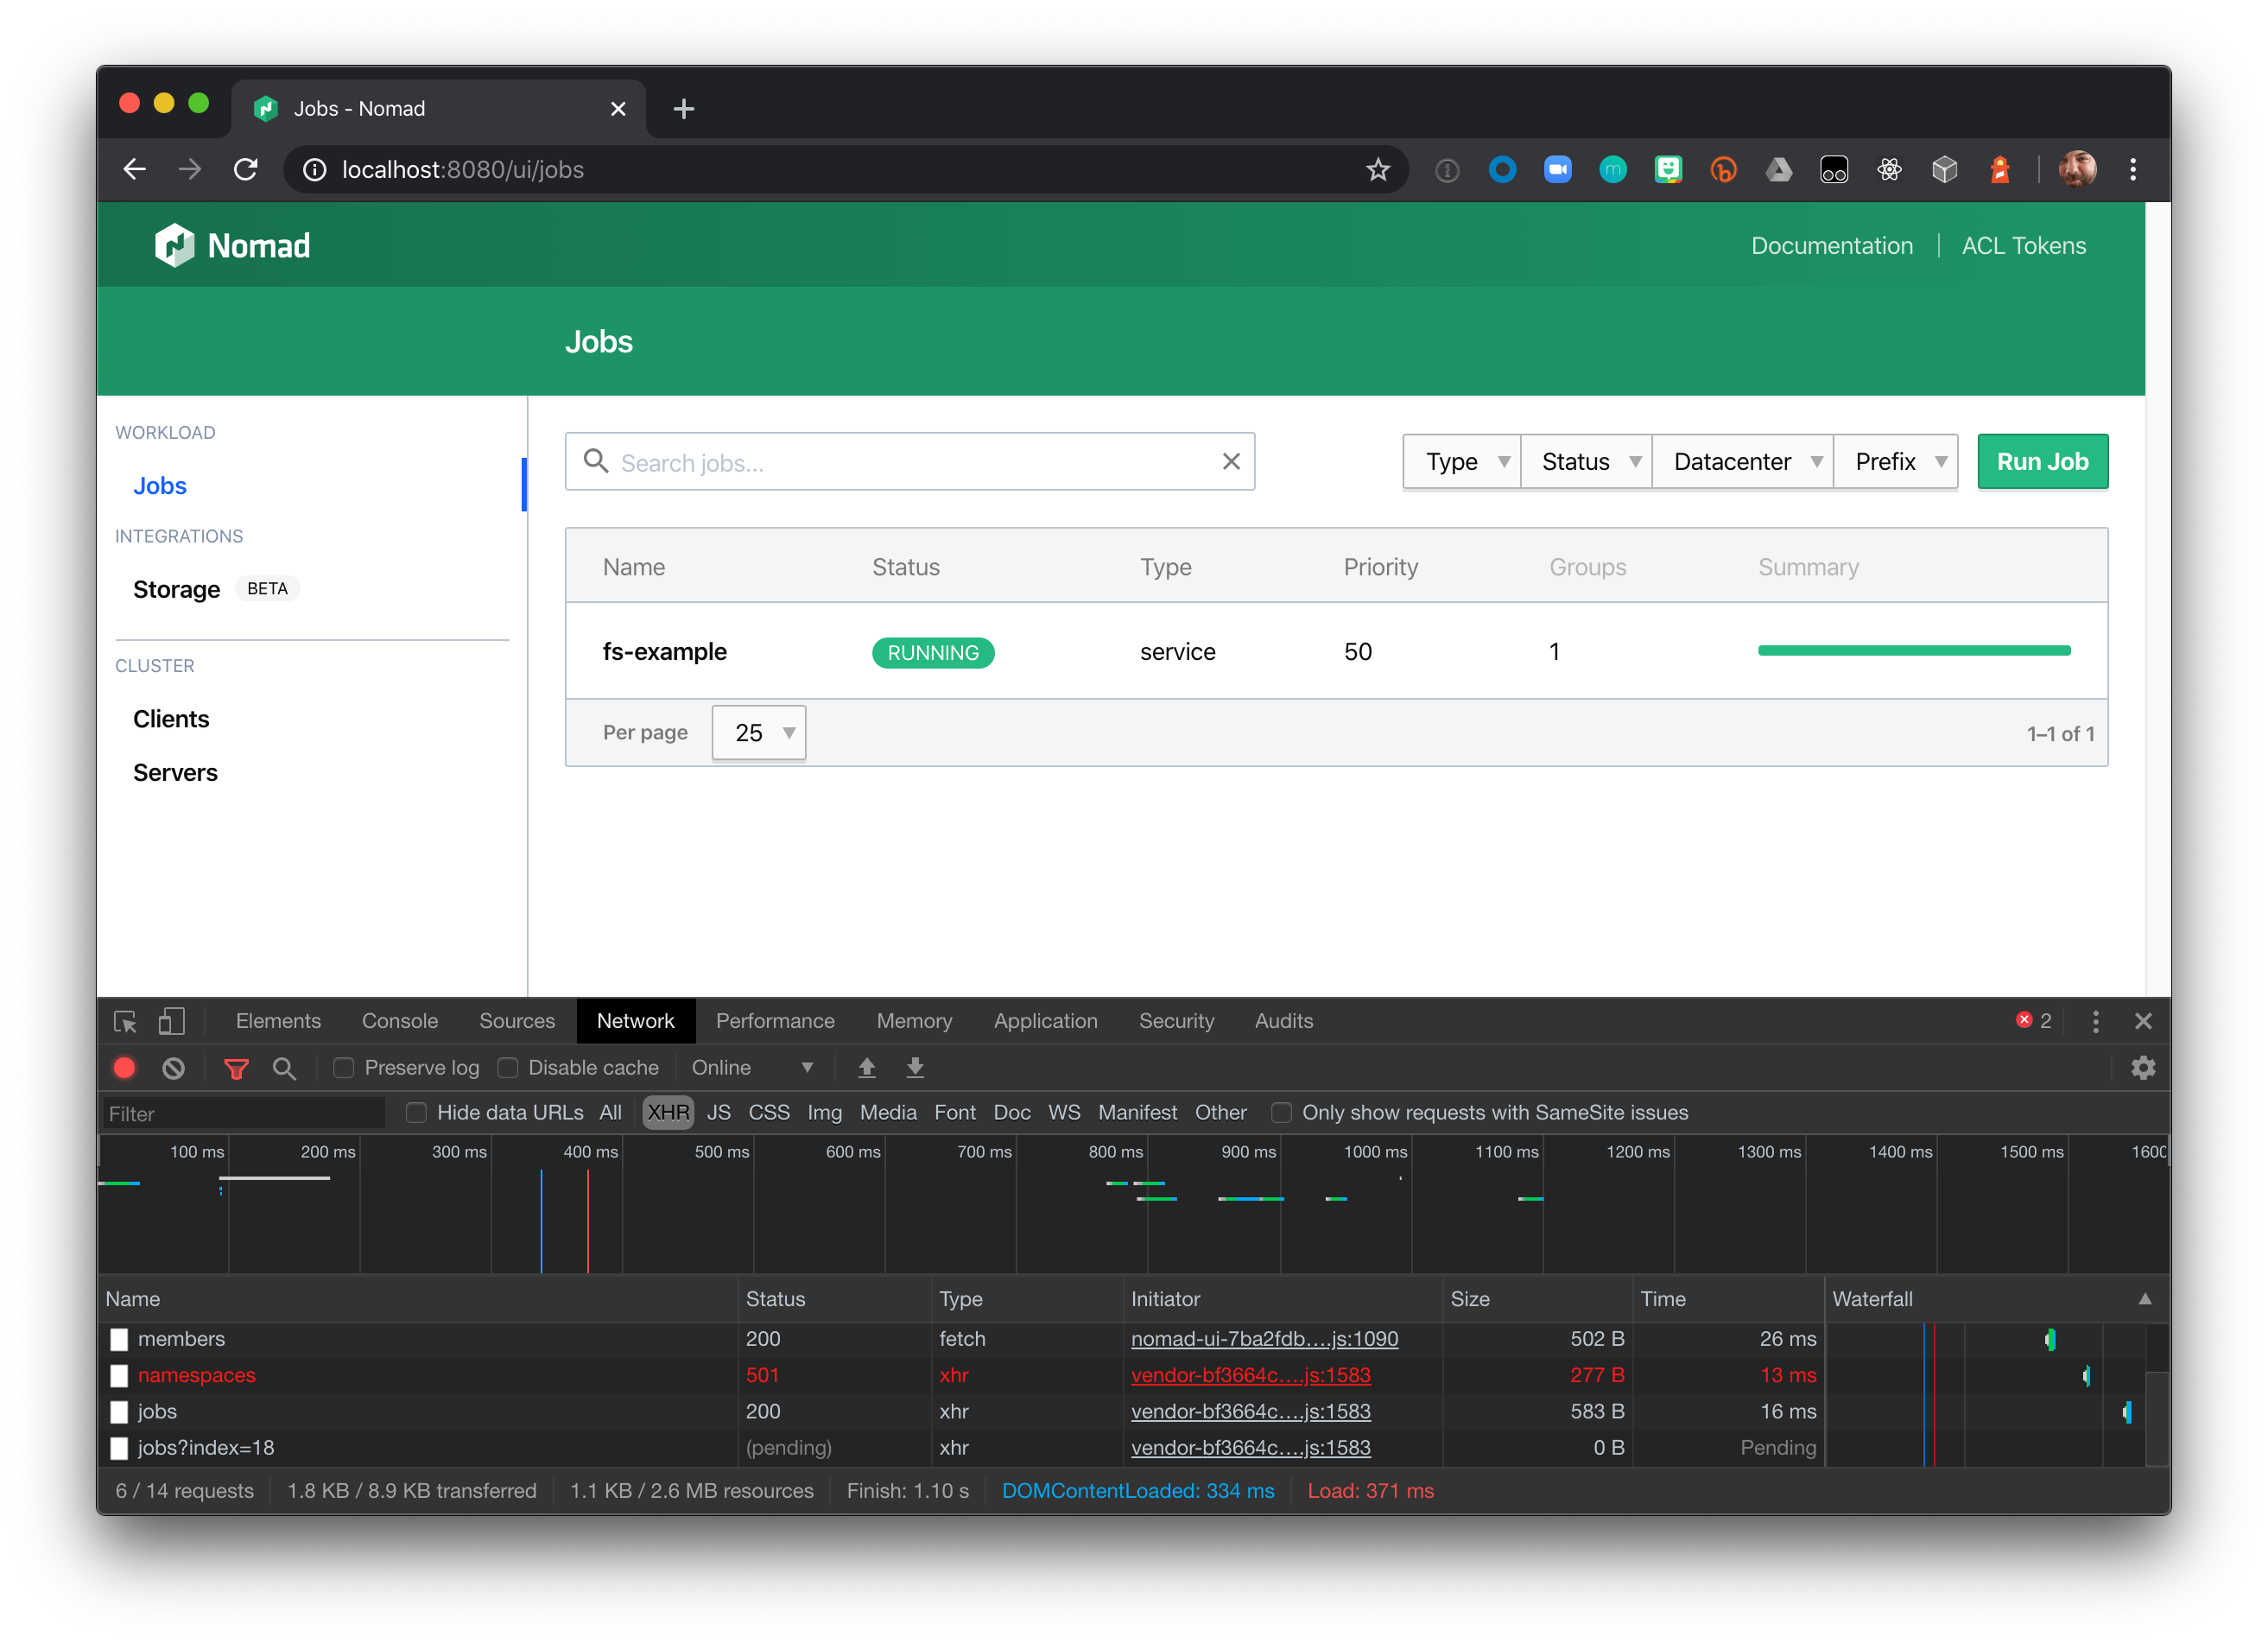
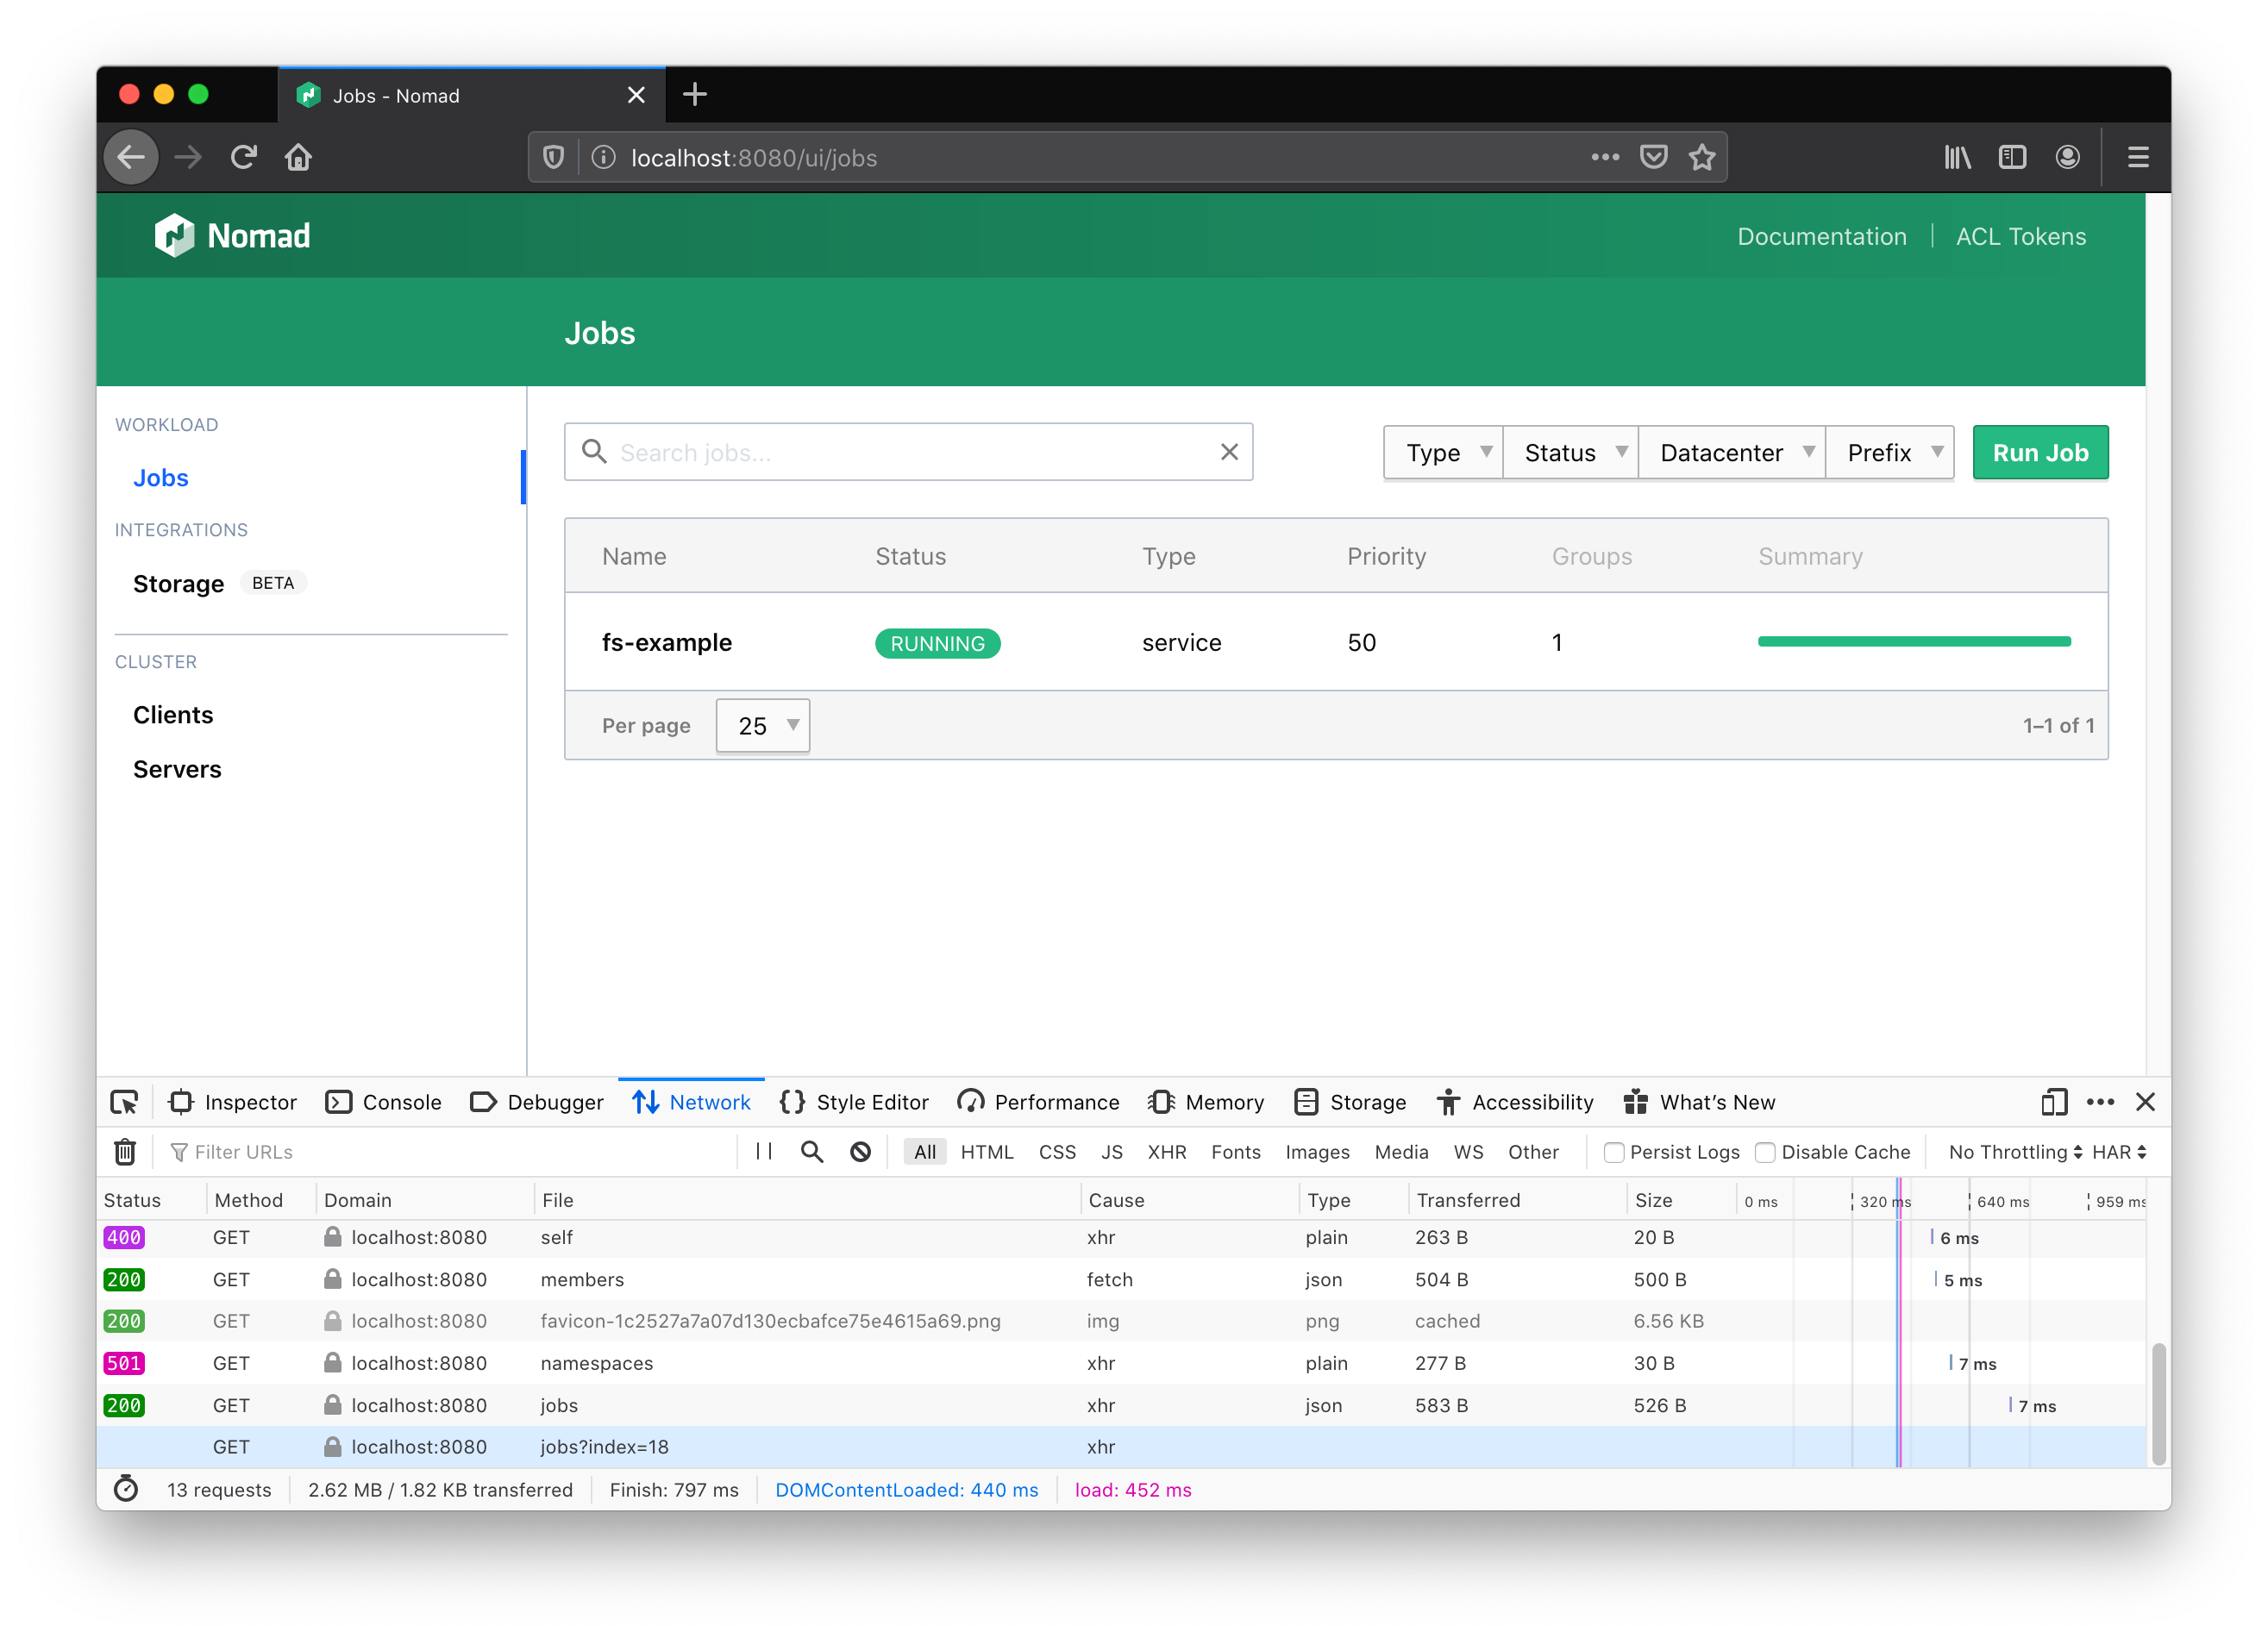
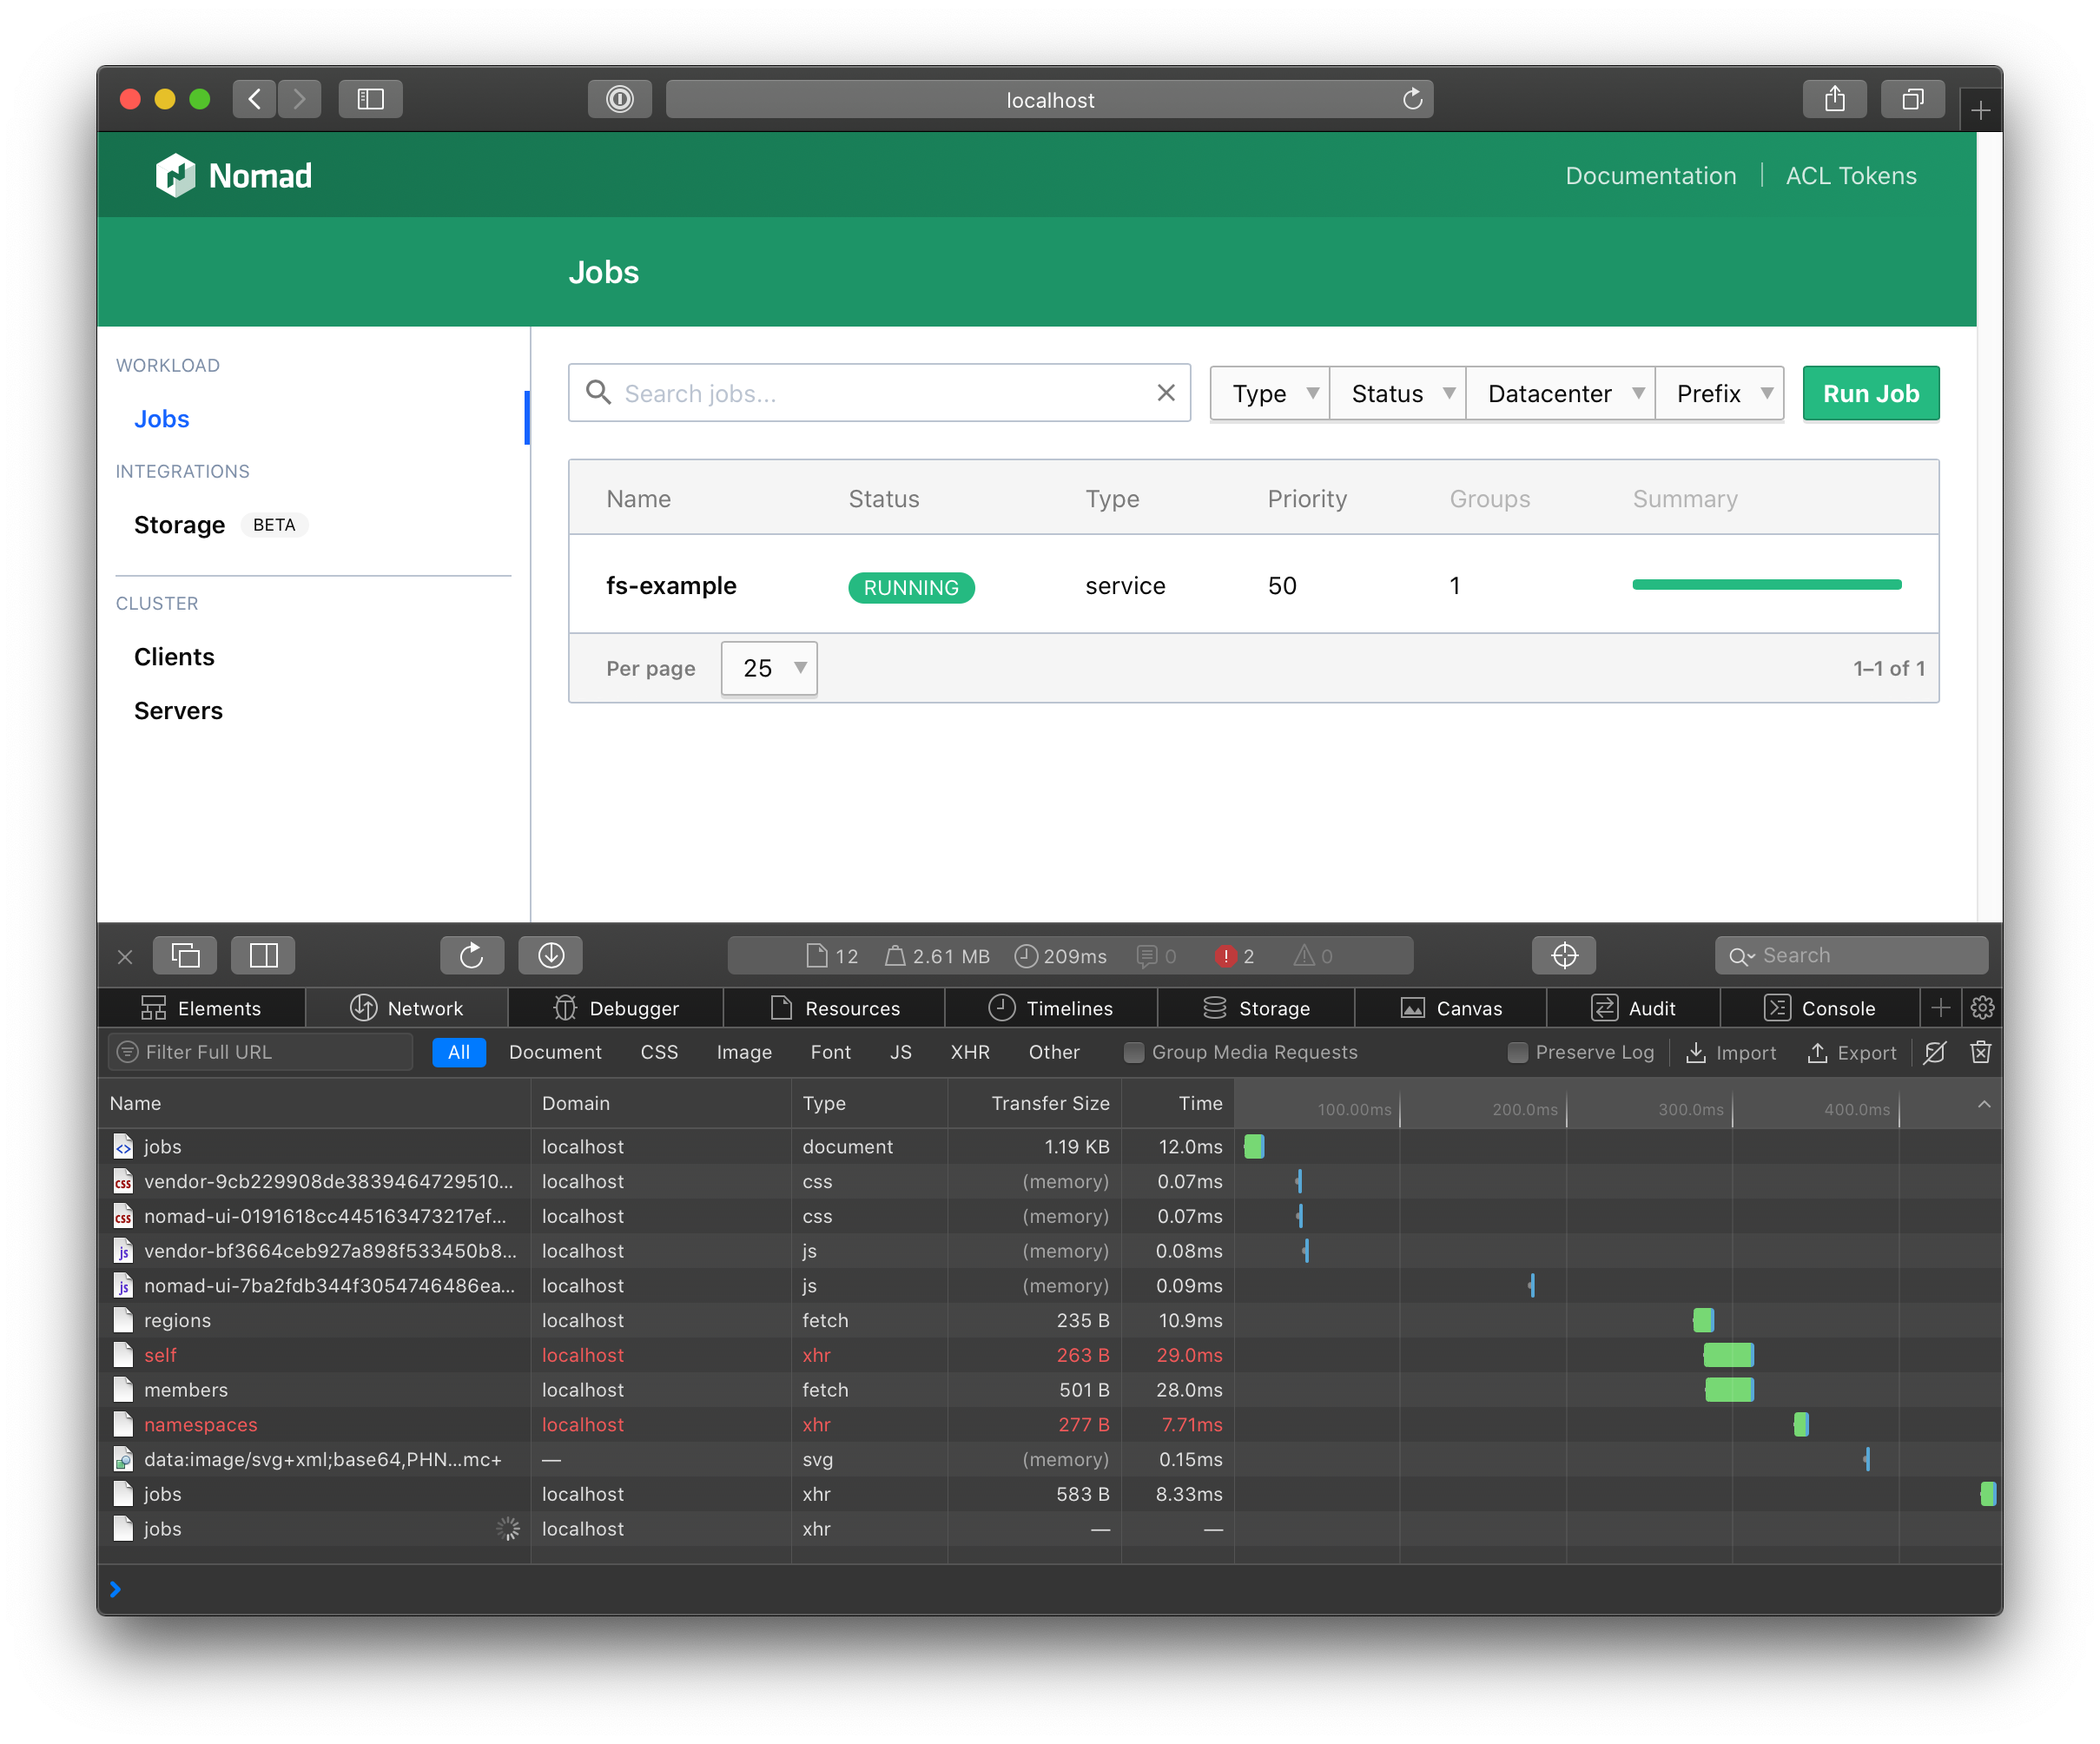
To observe the proxy time out a connection, visit the Nomad jobs list through the proxy at http://localhost:8080/ui/jobs with your Browser's developer tools open.
With the Nomad UI page open, press the F12 key to open the Developer tools. If it is not already selected, go to the Developer tools pane and select the Network tab. Leaving the tools pane open. Refresh the UI page.
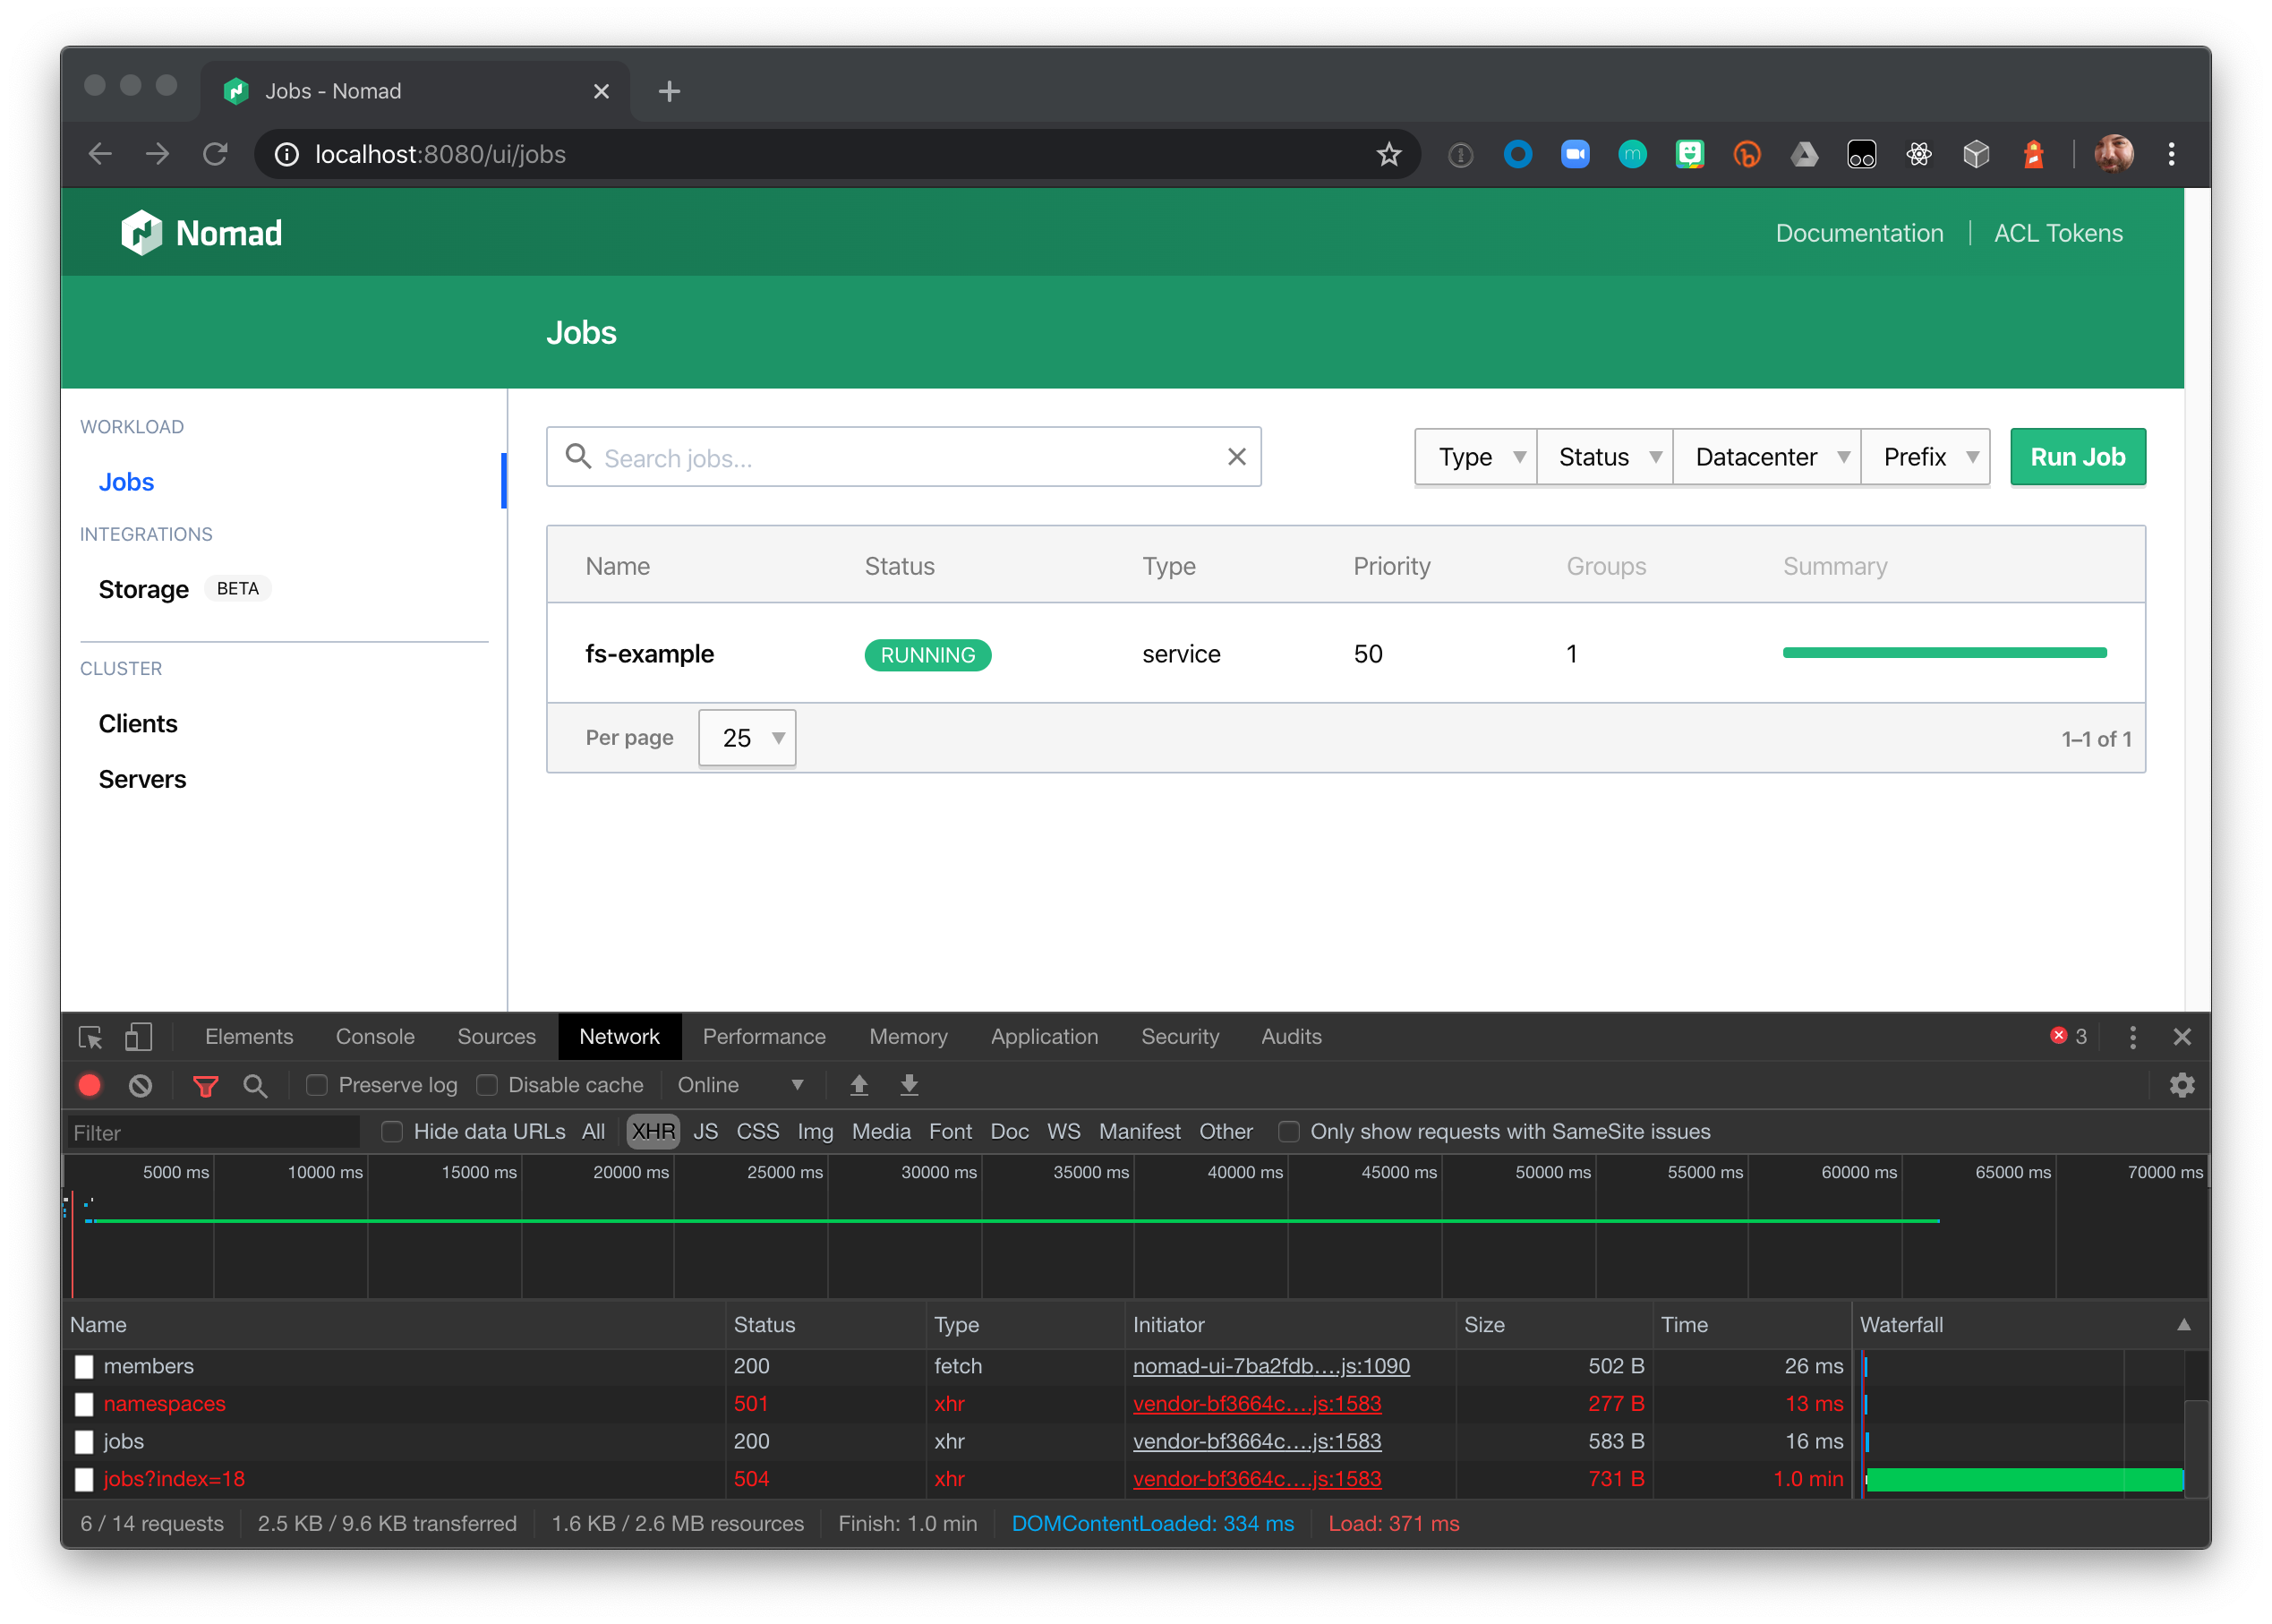
The blocking query connection for jobs will remain in "(pending)" status.
In approximately 60 seconds it will transition to a "504 Gateway Time-out" status.
To prevent these timeouts, update the NGINX configuration's location block to extend the
proxy_read_timeout setting. The Nomad API documentation's Blocking
Queries section explains that Nomad adds the result of (wait / 16) to the declared wait
time. You should set the proxy_read_timeout to slightly exceed Nomad's calculated wait time.
This tutorial uses the default blocking query wait of 300 seconds. Nomad adds
18.75 seconds to that wait time, so the proxy_read_timeout should be greater than 318.75 seconds.
Set theproxy_read_timeout to 319s.
# ...proxy_pass http://host.docker.internal:4646;proxy_set_header X-Forwarded-For $proxy_add_x_forwarded_for; # Nomad blocking queries will remain open for a default of 5 minutes.# Increase the proxy timeout to accommodate this timeout with an# additional grace period.proxy_read_timeout 319s;# ...Restart the NGINX docker container to load these configuration changes.
Disable proxy buffering
When possible the Web UI will use a streaming HTTP request to stream logs on the task logs page. NGINX by default will buffer proxy responses in an attempt to free up connections to the backend server being proxied as soon as possible.
Proxy buffering causes logs events to not stream because they will be temporarily captured within NGINX's proxy buffer until either the connection is closed or the proxy buffer size is hit and the data is finally flushed to the client.
Older browsers may not support this technology, in which case logs are streamed using a simple polling mechanism.
To observe this issue, visit the task logs page of your sample job by first visiting the sample job at http://localhost:8080/jobs/fs-example then clicking into the most recent allocation, then clicking into the fs-example task, then clicking the logs tab.
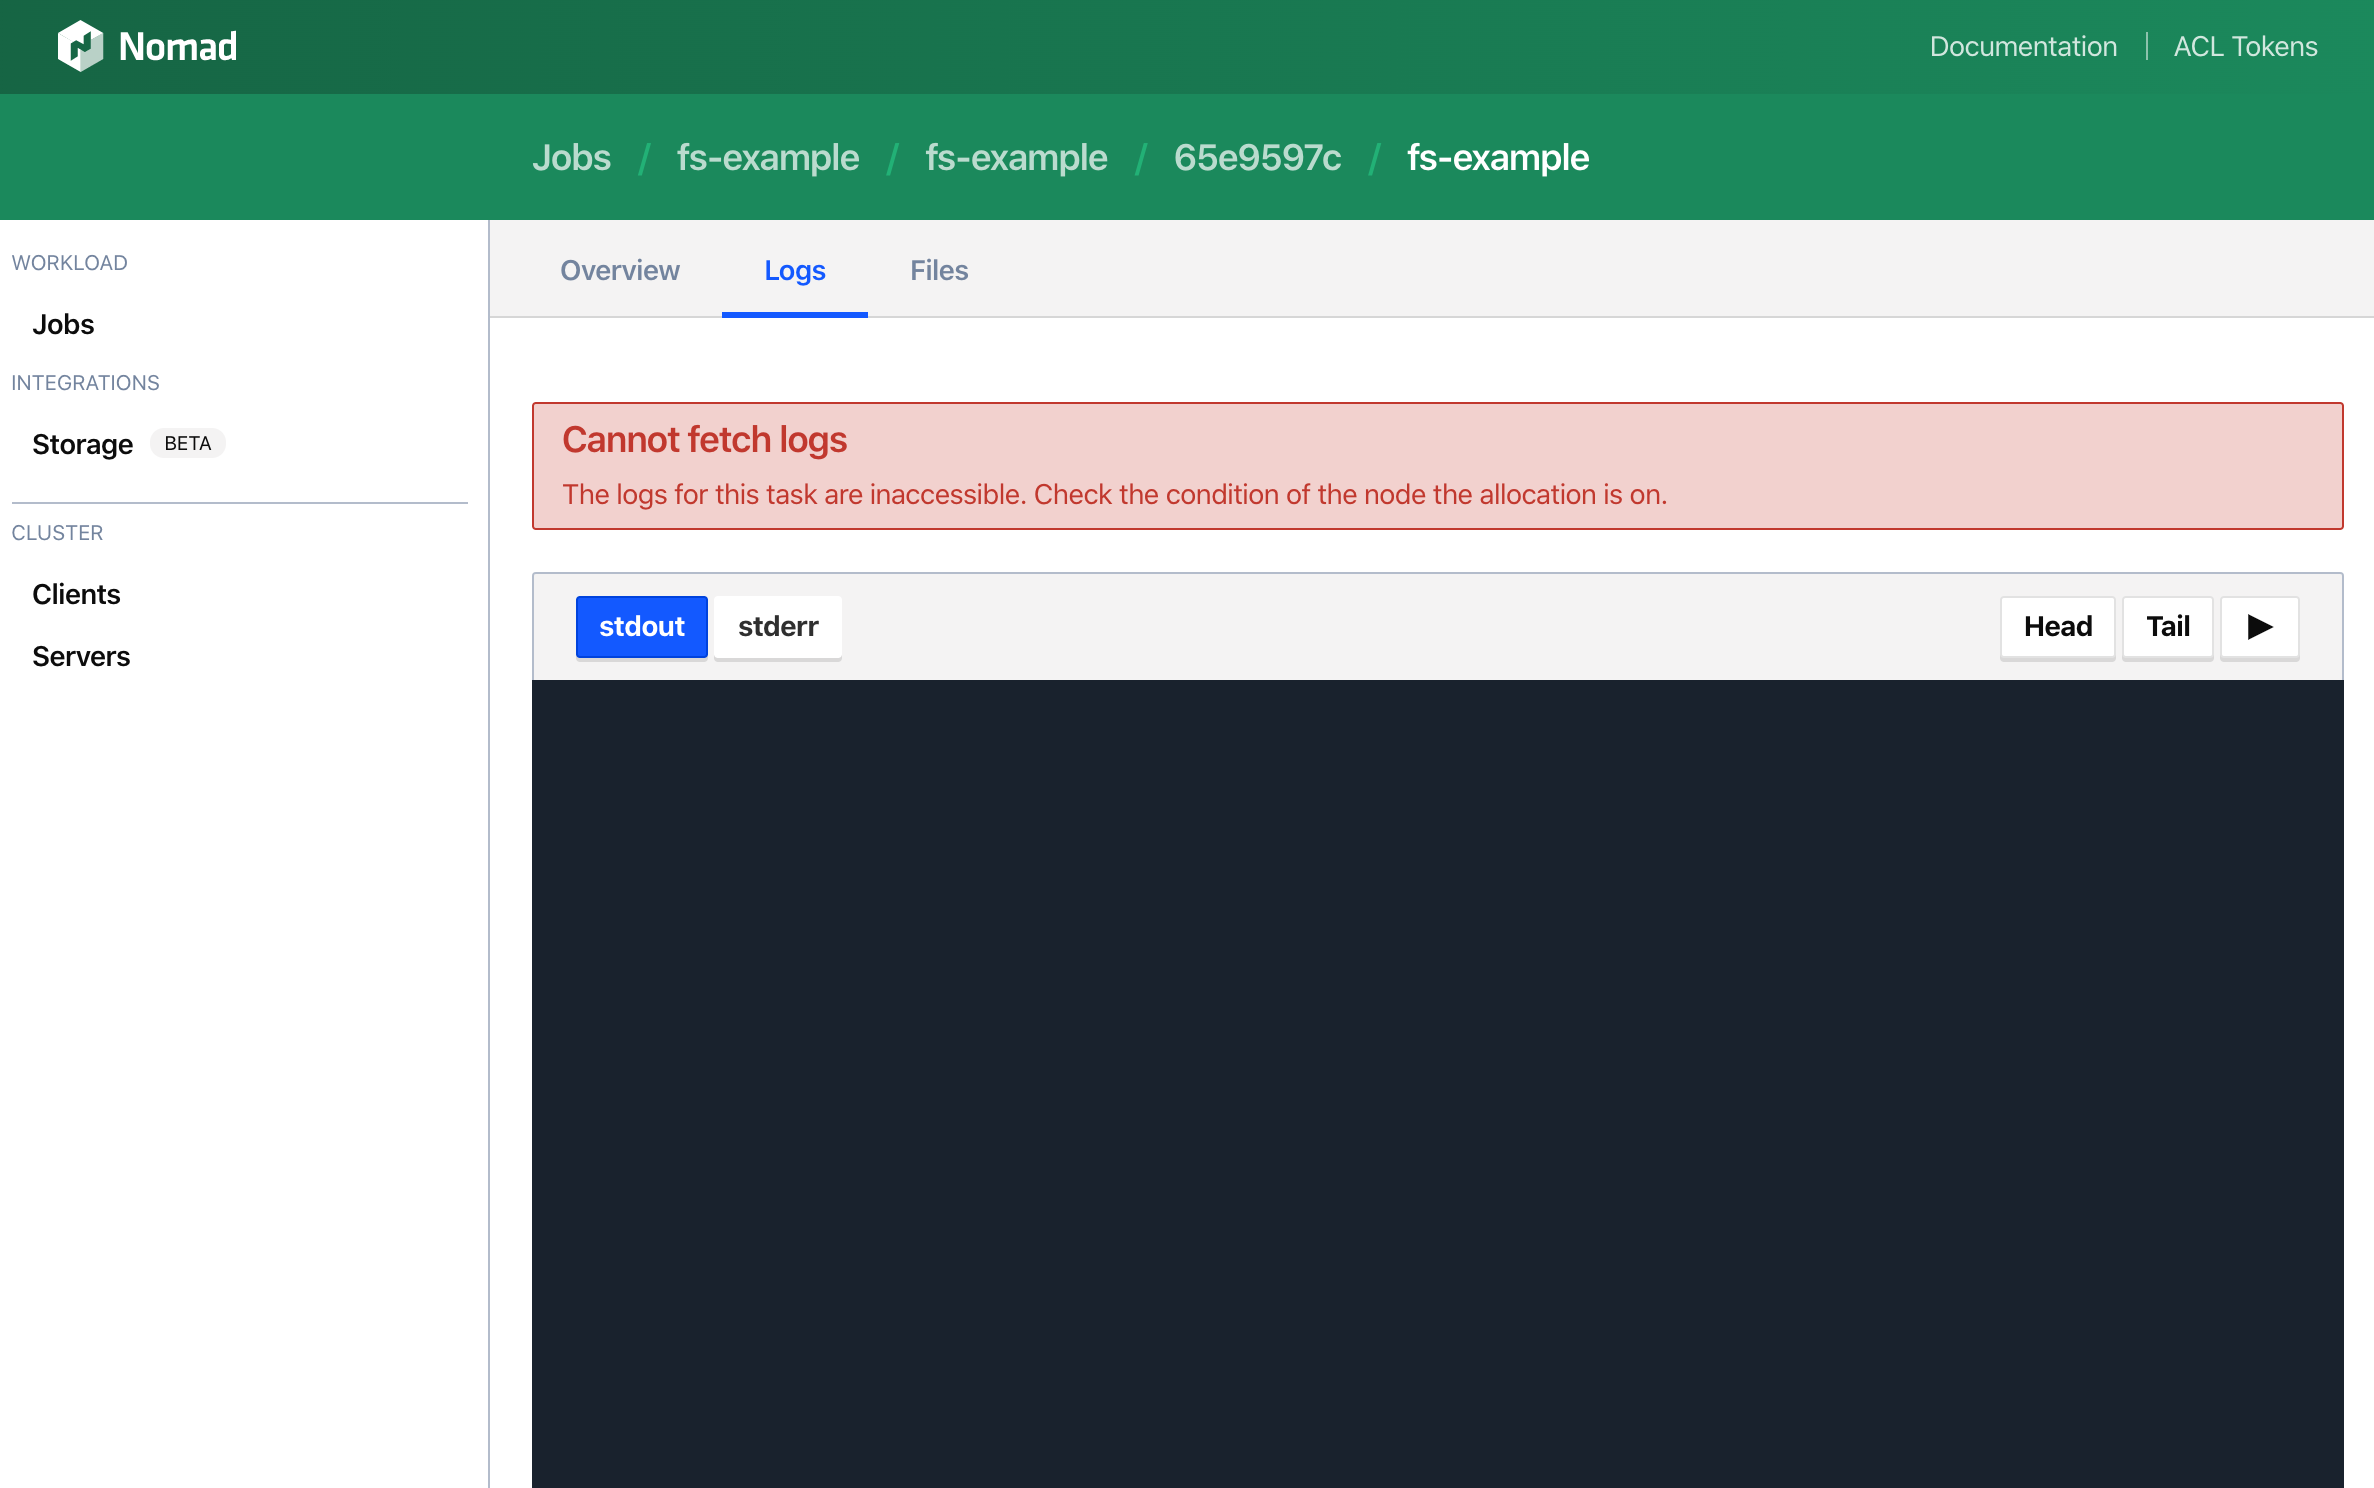
Logs will not load and eventually the following error will appear in the UI.
There will also be this additional error in the browser developer tools console.
GET http://internal-ip:4646/v1/client/fs/logs/131f60f7-ef46-9fc0-d80d-29e673f01bd6?follow=true&offset=50000&origin=end&task=ansi&type=stdout net::ERR_NAME_NOT_RESOLVEDThis ERR_NAME_NOT_RESOLVED error can be safely ignored. To prevent streaming logs through Nomad server nodes when unnecessary, the Web UI optimistically attempts to connect directly to the client node the task is running on. Since the Nomad configuration file used in this tutorial specifically advertises an address that can't be reached, the UI automatically falls back to requesting logs through the proxy.
To allow log streaming through NGINX, the NGINX configuration needs to be updated to disable proxy buffering. Add the following to the location block of the existing NGINX configuration file.
# ...proxy_read_timeout 319s; # Nomad log streaming uses streaming HTTP requests. In order to# synchronously stream logs from Nomad to NGINX to the browser# proxy buffering needs to be turned off.proxy_buffering off;# ...Restart the NGINX docker container to load these configuration changes.
Enable WebSocket connections
As of Nomad 0.11.0, the Web UI has supported interactive exec sessions with any running task in the cluster. This is achieved using the exec API which is implemented using WebSockets.
WebSockets are necessary for the exec API because they allow bidirectional data transfer. This is used to receive changes to the remote output as well as send commands and signals from the browser-based terminal.
The way a WebSocket connection is established is through a handshake request. The handshake is an HTTP request with special Connection and Upgrade headers.
WebSockets also do not support CORS headers. The server-side of a WebSocket connection needs to verify trusted origins on its own. Nomad does this verification by checking if the Origin header of the handshake request is equal to the address of the Nomad API.
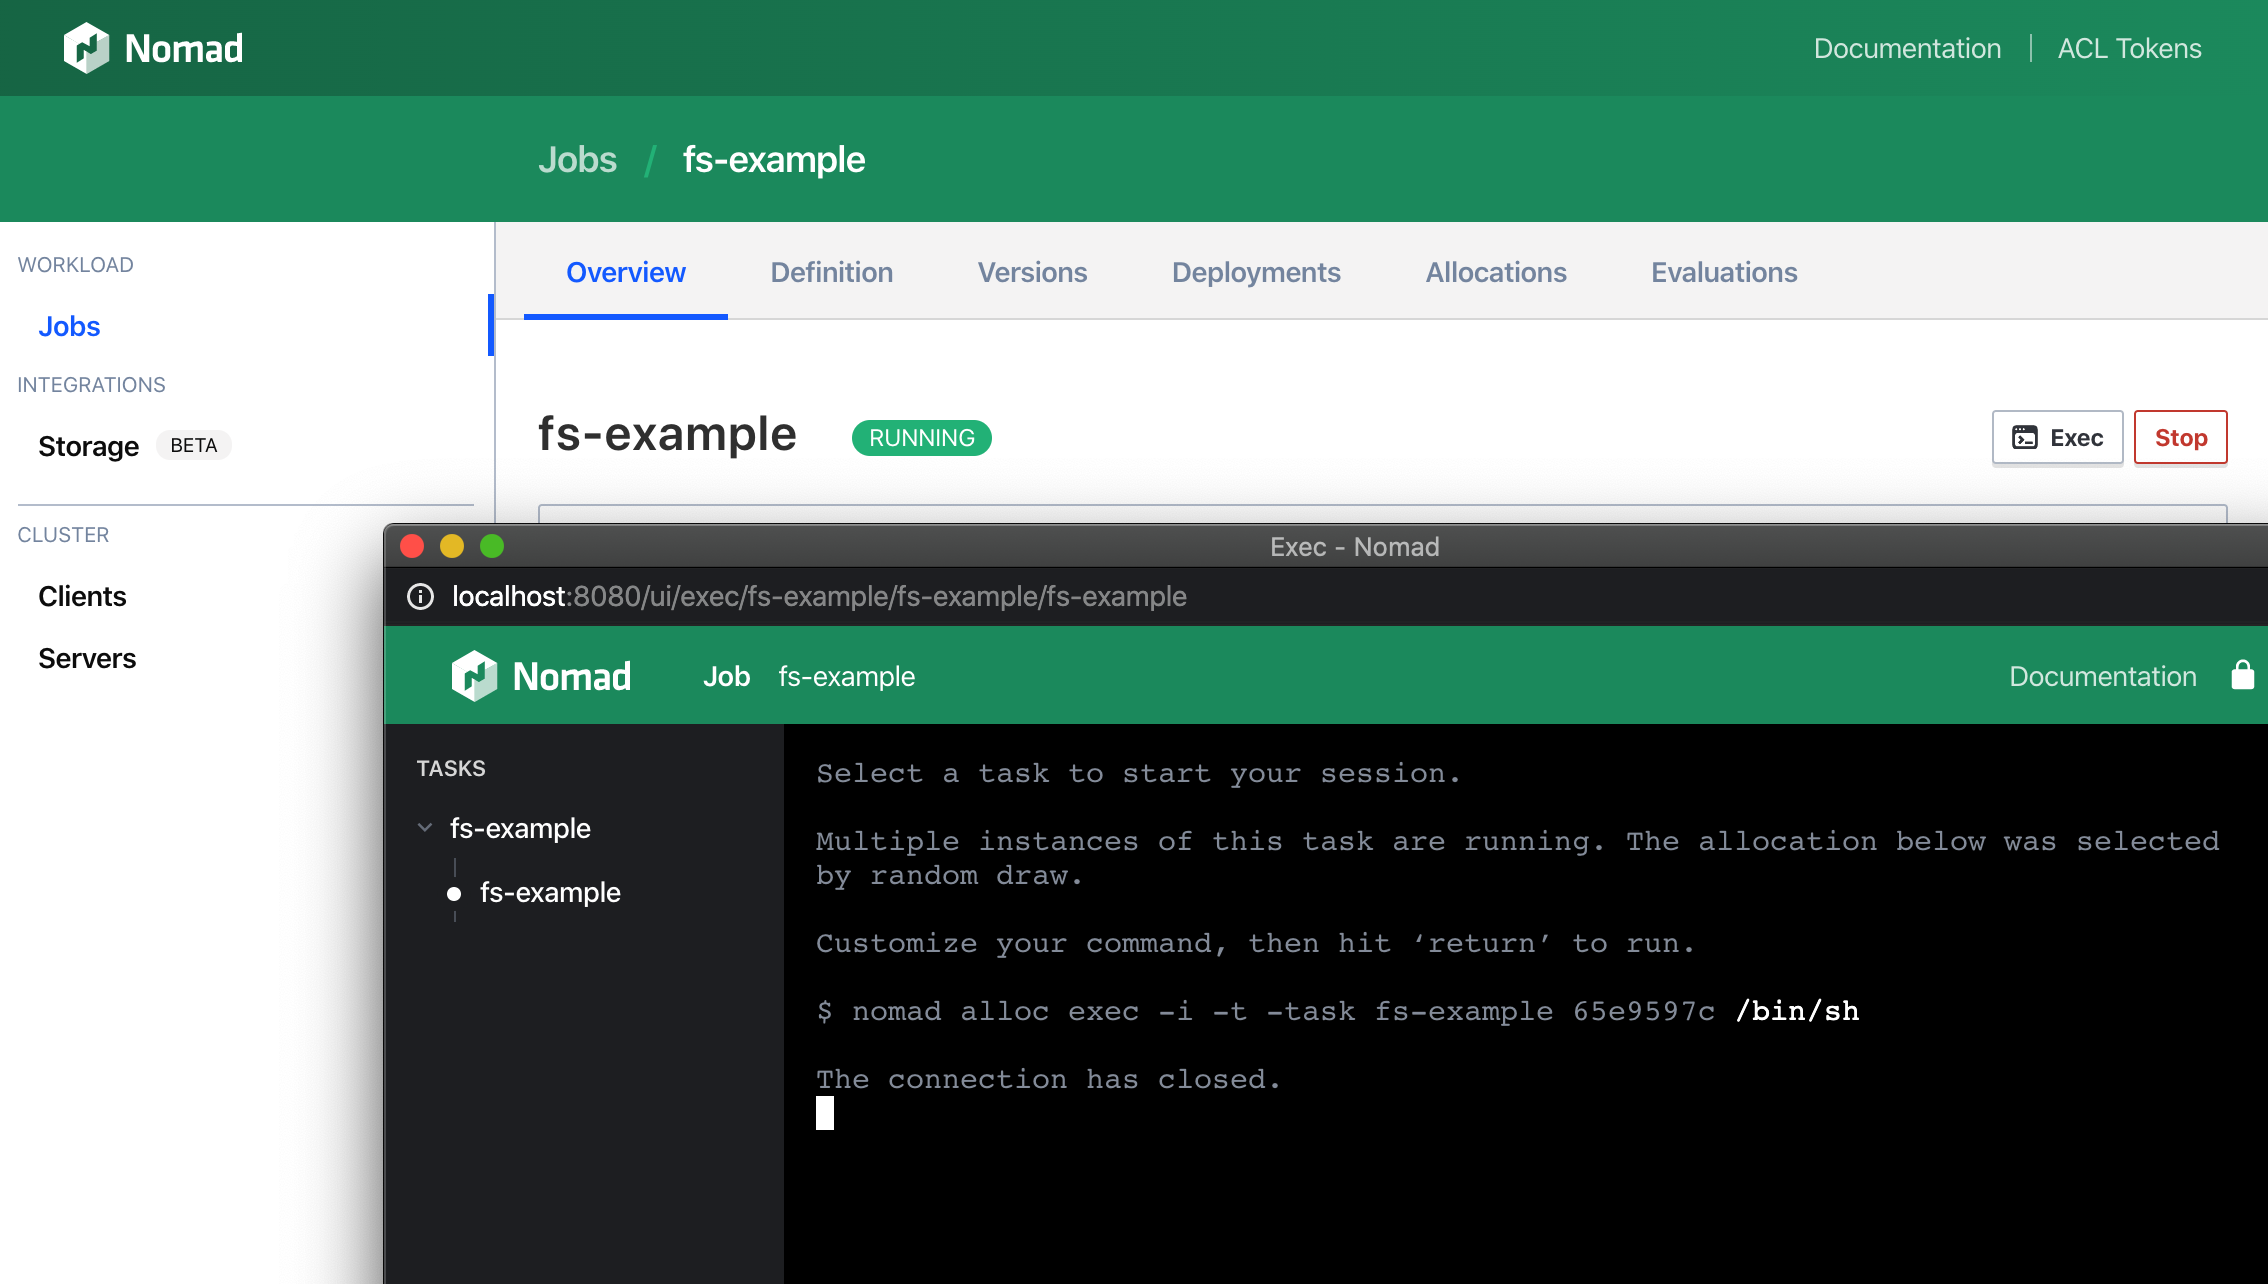
By default NGINX will not fulfill the handshake or the origin verification. This results in exec sessions immediately terminating. You can experience this in the Web UI by going to http://localhost:8080/jobs/fs-example, clicking the Exec button, choosing the task, and attempting to run the command /bin/sh.
The fulfill the handshake NGINX will need to forward the Connection and Upgrade headers. To meet the origin verification required by the Nomad API, NGINX will have to override the existing Origin header to match the host address. Add the following to the location block of the existing NGINX configuration file.
# ...proxy_buffering off; # The Upgrade and Connection headers are used to establish# a WebSockets connection.proxy_set_header Upgrade $http_upgrade;proxy_set_header Connection "upgrade"; # The default Origin header will be the proxy address, which# will be rejected by Nomad. It must be rewritten to be the# host address instead.proxy_set_header Origin "${scheme}://${proxy_host}";# ...Restart the NGINX docker container to load these configuration changes.
WebSocket connections are also stateful. If you are planning on using NGINX to balance load across all Nomad server nodes, it is important to ensure that WebSocket connections get routed to a consistent host.
This can be done by specifying an upstream in NGINX and using it as the proxy pass. Add the following after the server block in the existing NGINX configuration file.
# ...# Since WebSockets are stateful connections but Nomad has multiple# server nodes, an upstream with ip_hash declared is required to ensure# that connections are always proxied to the same server node when possible.upstream nomad-ws { ip_hash; server host.docker.internal:4646;}# ...Traffic must also pass through the upstream. To do this, change the proxy_pass in the NGINX configuration file.
# ...location / { proxy_pass http://nomad-ws# ...Since a dev environment only has one node, this change has no observable effect.
Review the complete NGINX configuration
At this point all Web UI features are now working through the NGINX proxy. Here is the completed NGINX configuration file.
events {} http { server { location / { proxy_pass http://nomad-ws; proxy_set_header X-Forwarded-For $proxy_add_x_forwarded_for; # Nomad blocking queries will remain open for a default of 5 minutes. # Increase the proxy timeout to accommodate this timeout with an # additional grace period. proxy_read_timeout 319s; # Nomad log streaming uses streaming HTTP requests. In order to # synchronously stream logs from Nomad to NGINX to the browser # proxy buffering needs to be turned off. proxy_buffering off; # The Upgrade and Connection headers are used to establish # a WebSockets connection. proxy_set_header Upgrade $http_upgrade; proxy_set_header Connection "upgrade"; # The default Origin header will be the proxy address, which # will be rejected by Nomad. It must be rewritten to be the # host address instead. proxy_set_header Origin "${scheme}://${proxy_host}"; } } # Since WebSockets are stateful connections but Nomad has multiple # server nodes, an upstream with ip_hash declared is required to ensure # that connections are always proxied to the same server node when possible. upstream nomad-ws { ip_hash; server host.docker.internal:4646; }}Next steps
In this guide, you set up a reverse NGINX proxy configured for the Nomad UI. You also explored common configuration properties necessary to allow the Nomad UI to work properly through a proxy—connection timeouts, proxy buffering, WebSocket connections, and Origin header rewriting.
You can use these building blocks to configure your preferred proxy server software to work with the Nomad UI. For further information about the NGINX specific configuration highlighted in this guide, consult:
